
SPF, DKIM, DMARC - Domain hosted on Namecheap
Configure SPF, DKIM, and DMARC records on Namecheap for better cold email deliverability. Step-by-step DNS setup guide for email authentication.
How to setup SPF for you domain hosted on Namecheap
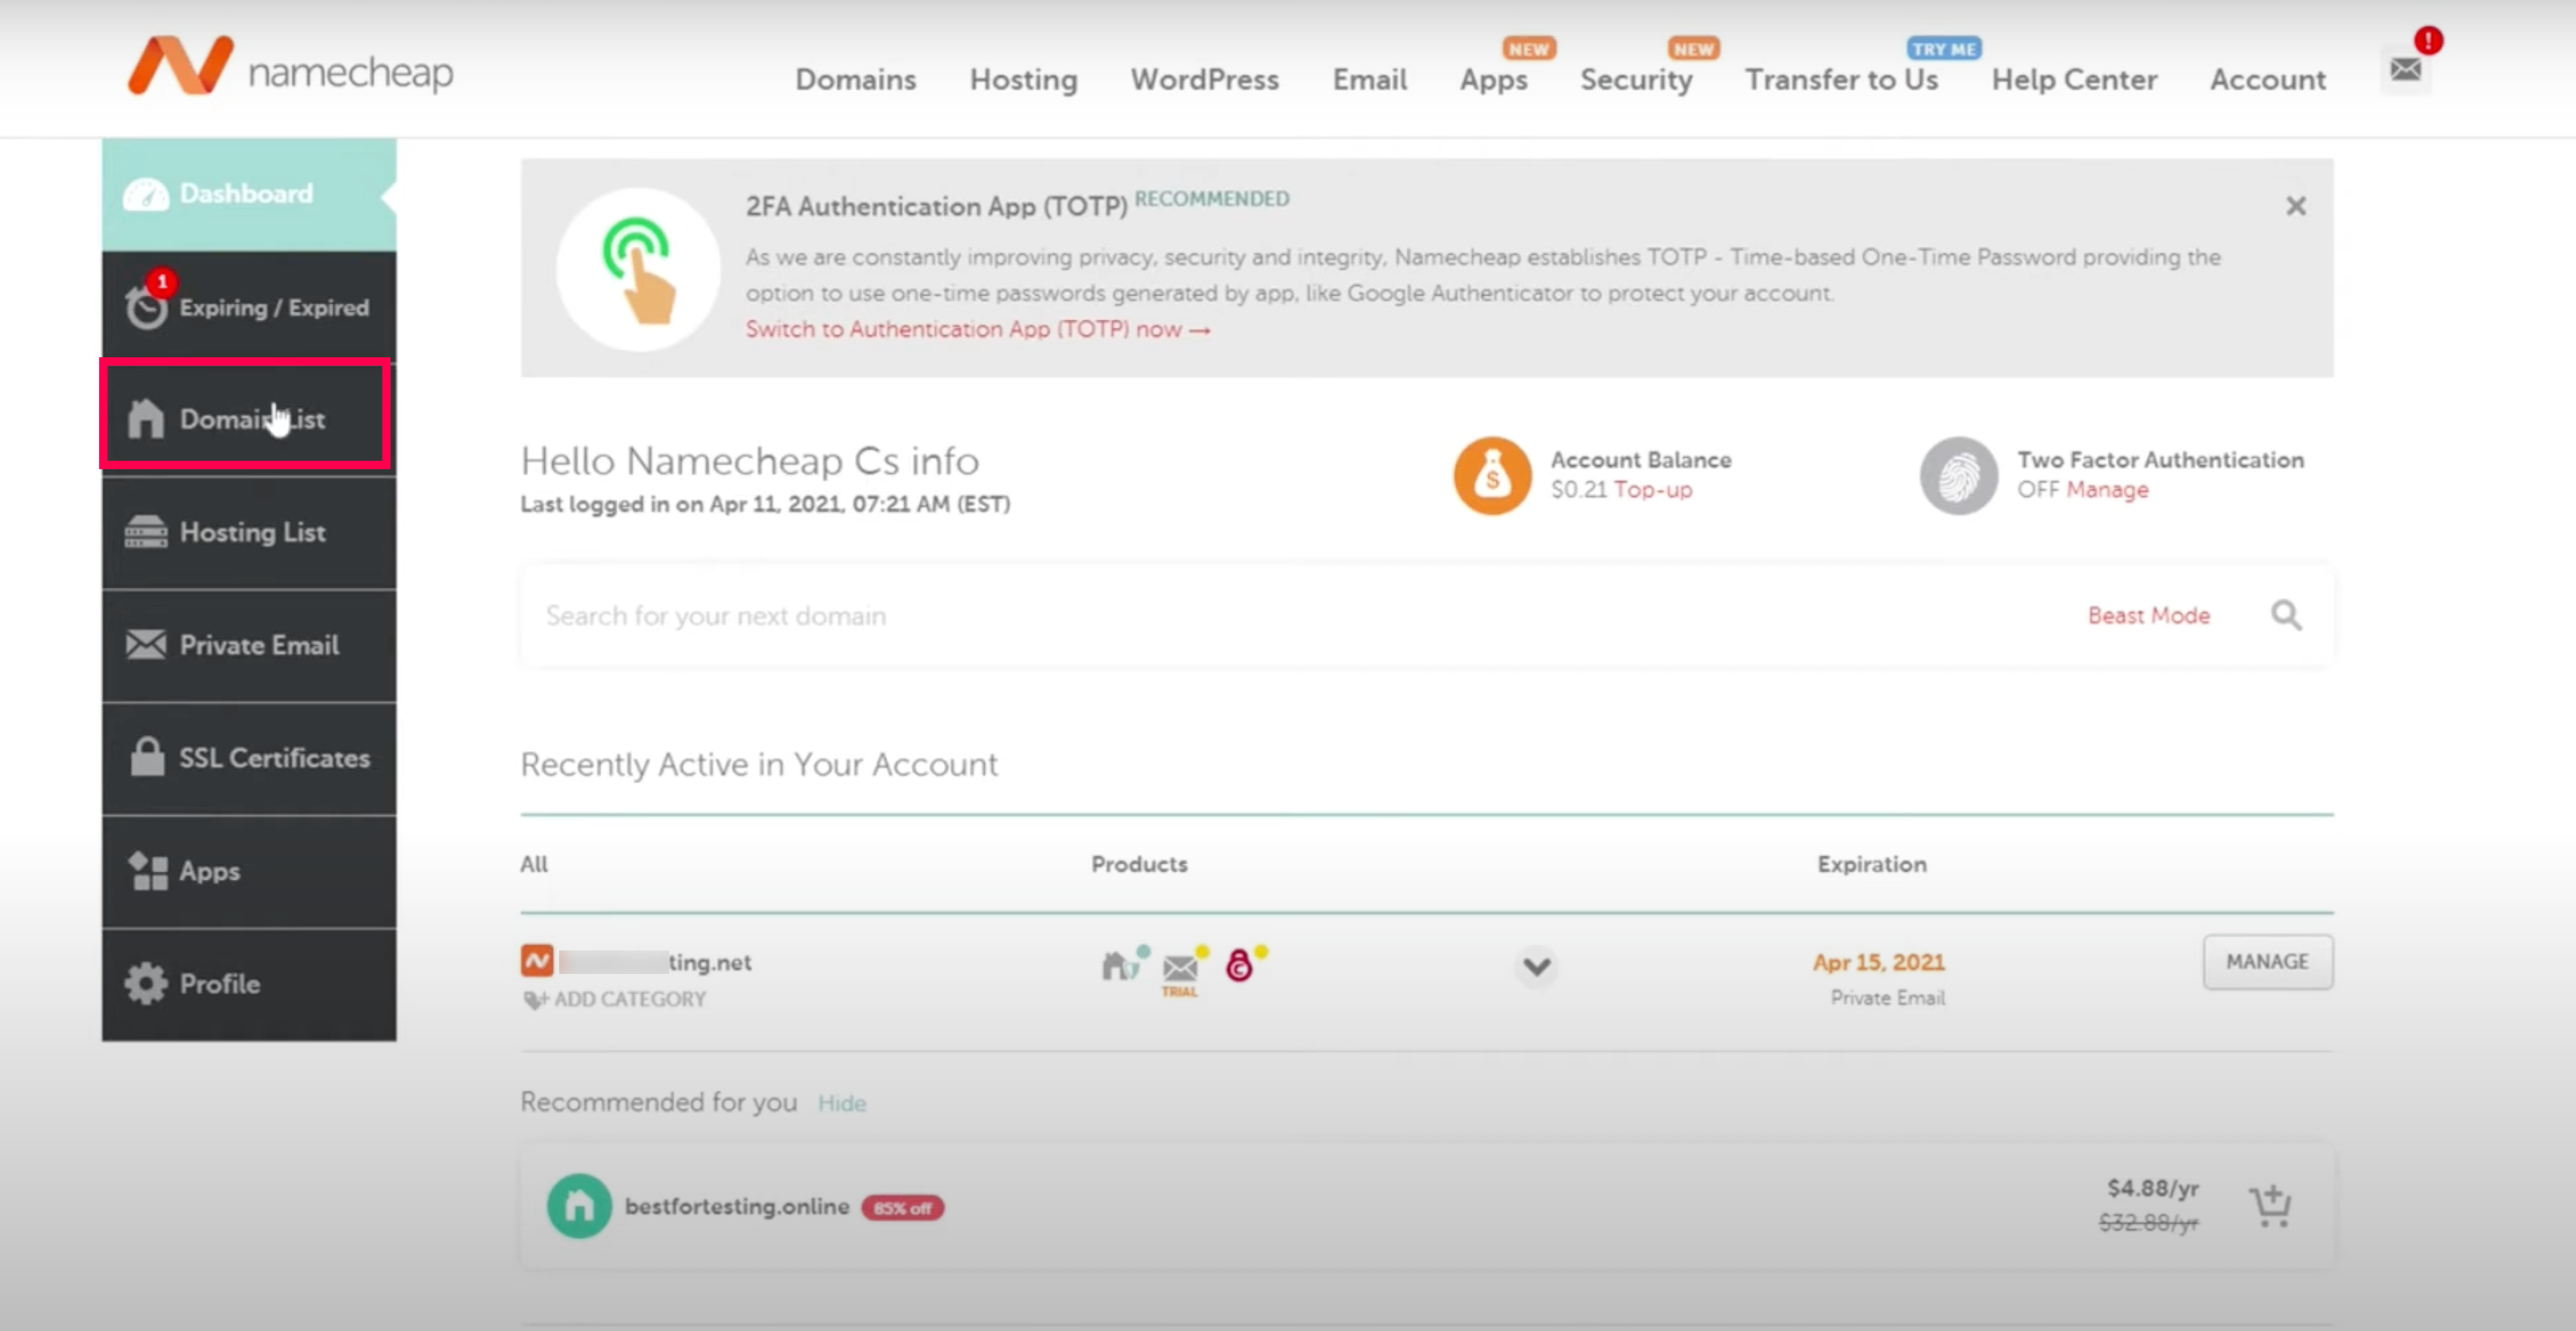
Step1- sign in to your Namecheap account.
Step 2 - Navigate to the “domain list”
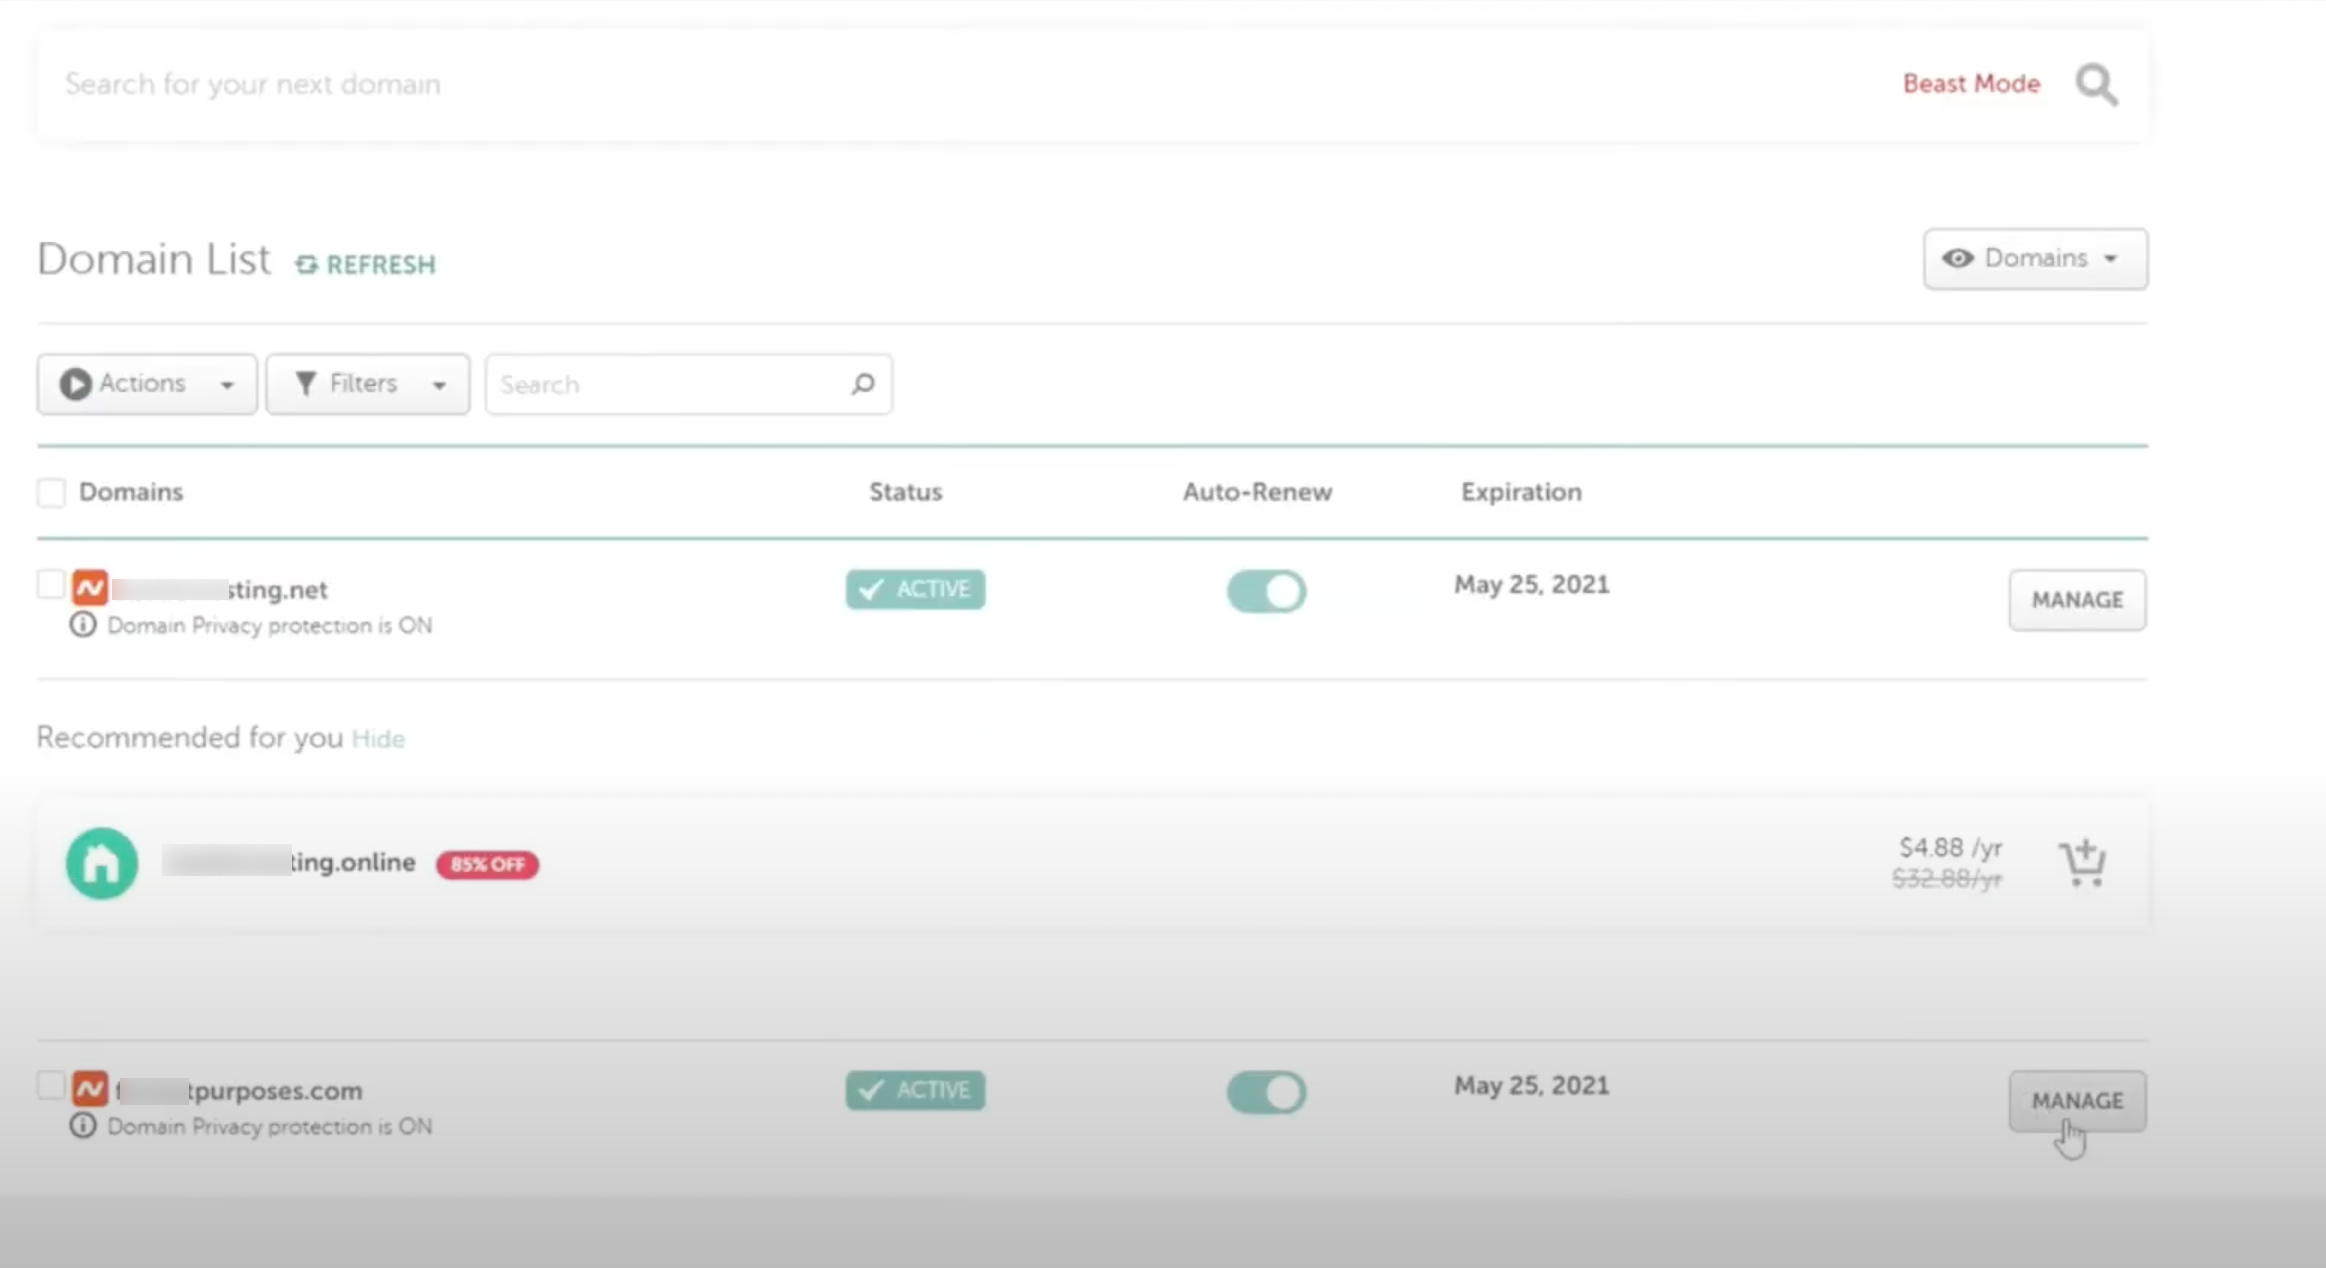
Step 3 - You will get directed to the new page Domain List. Click on the manage tab in front of your domain
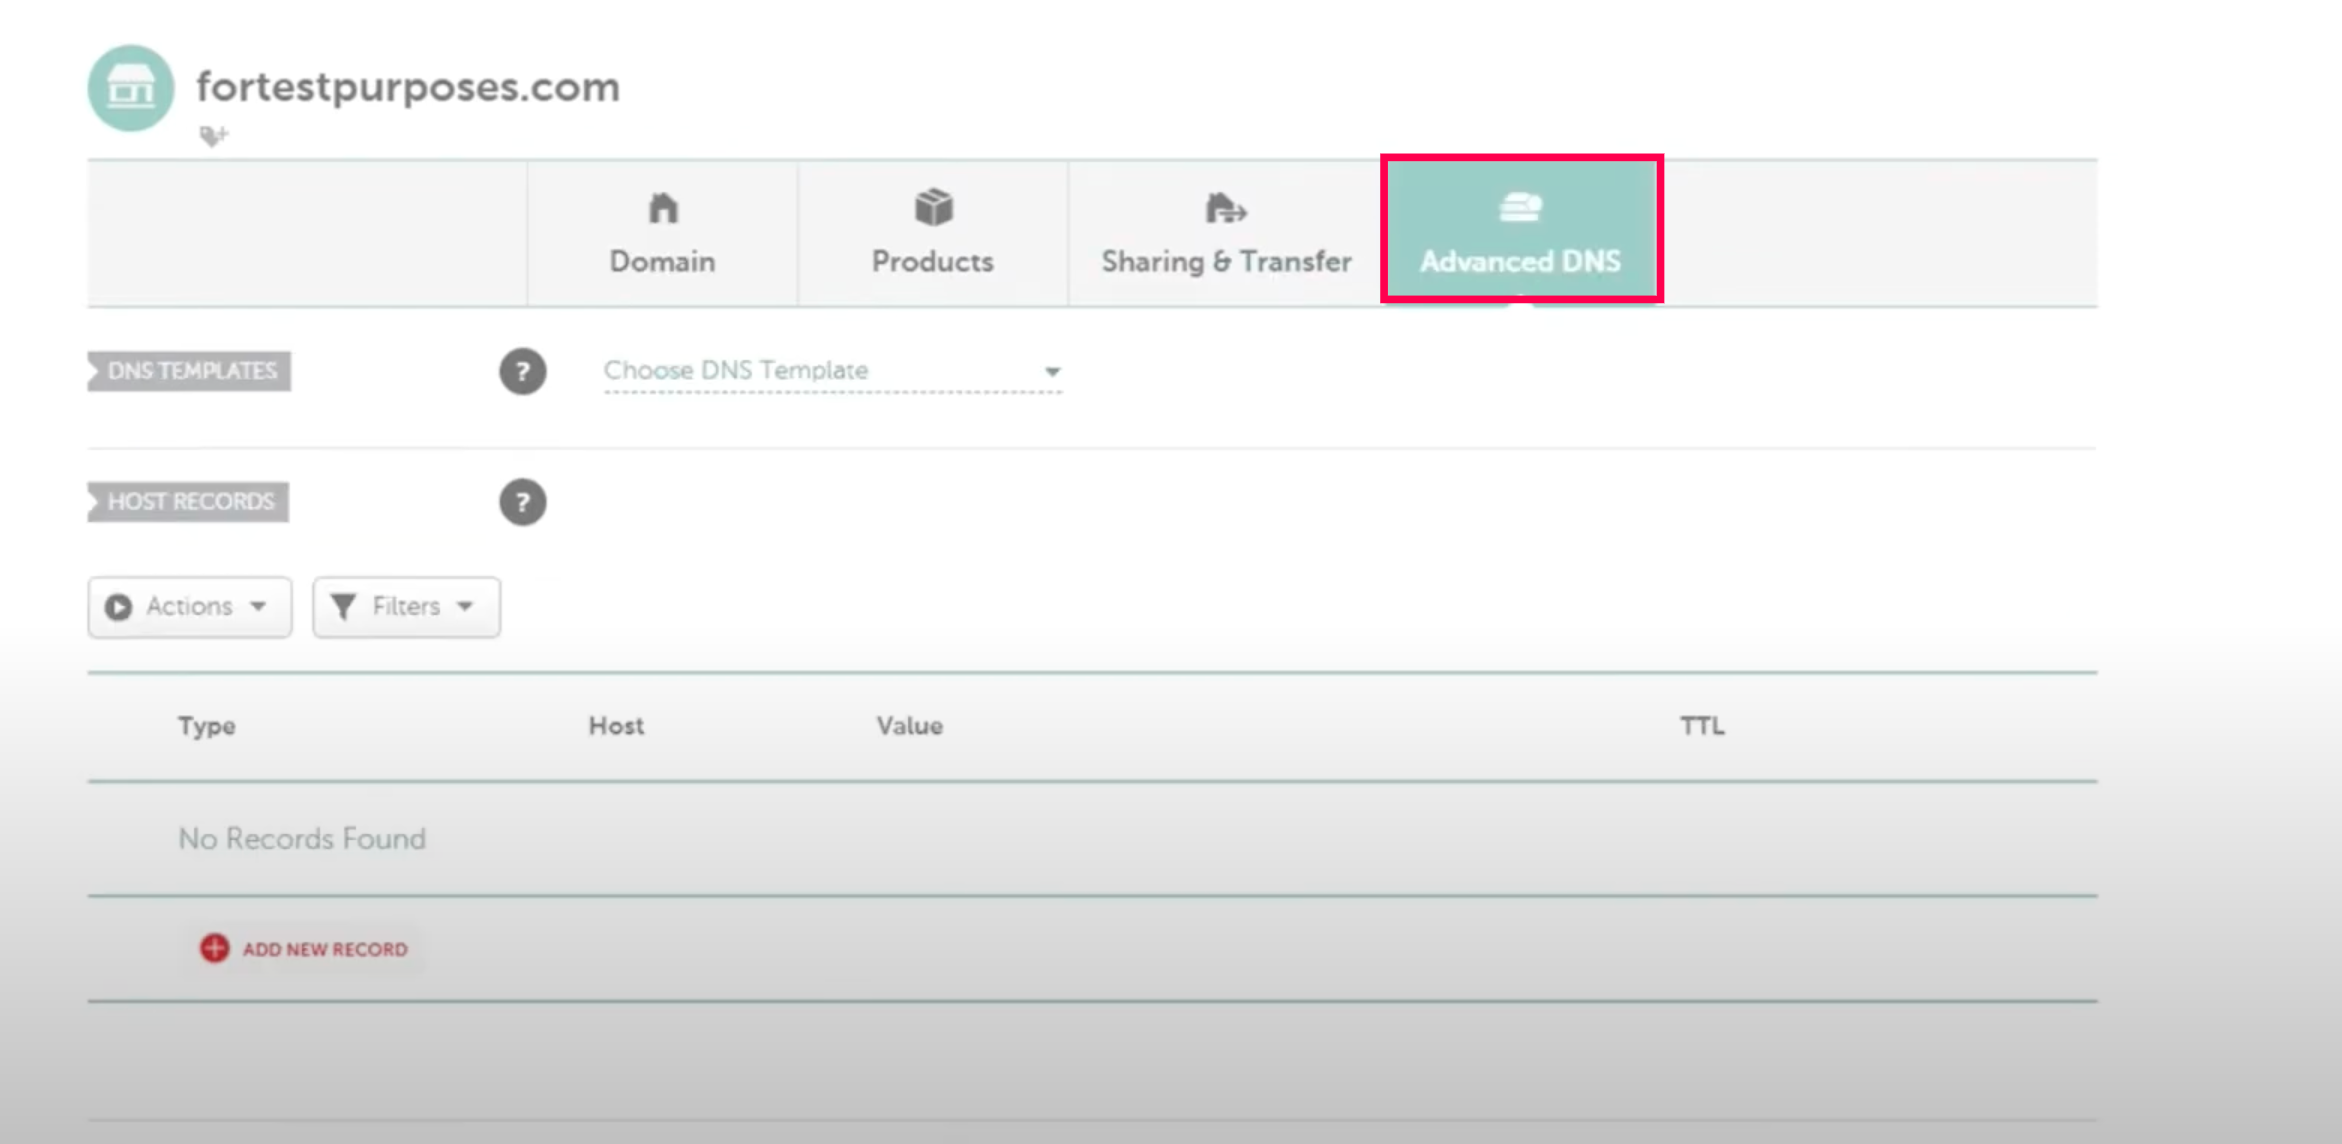
Step 4 - Navigate to Advanced DNS tab from the top menu bar
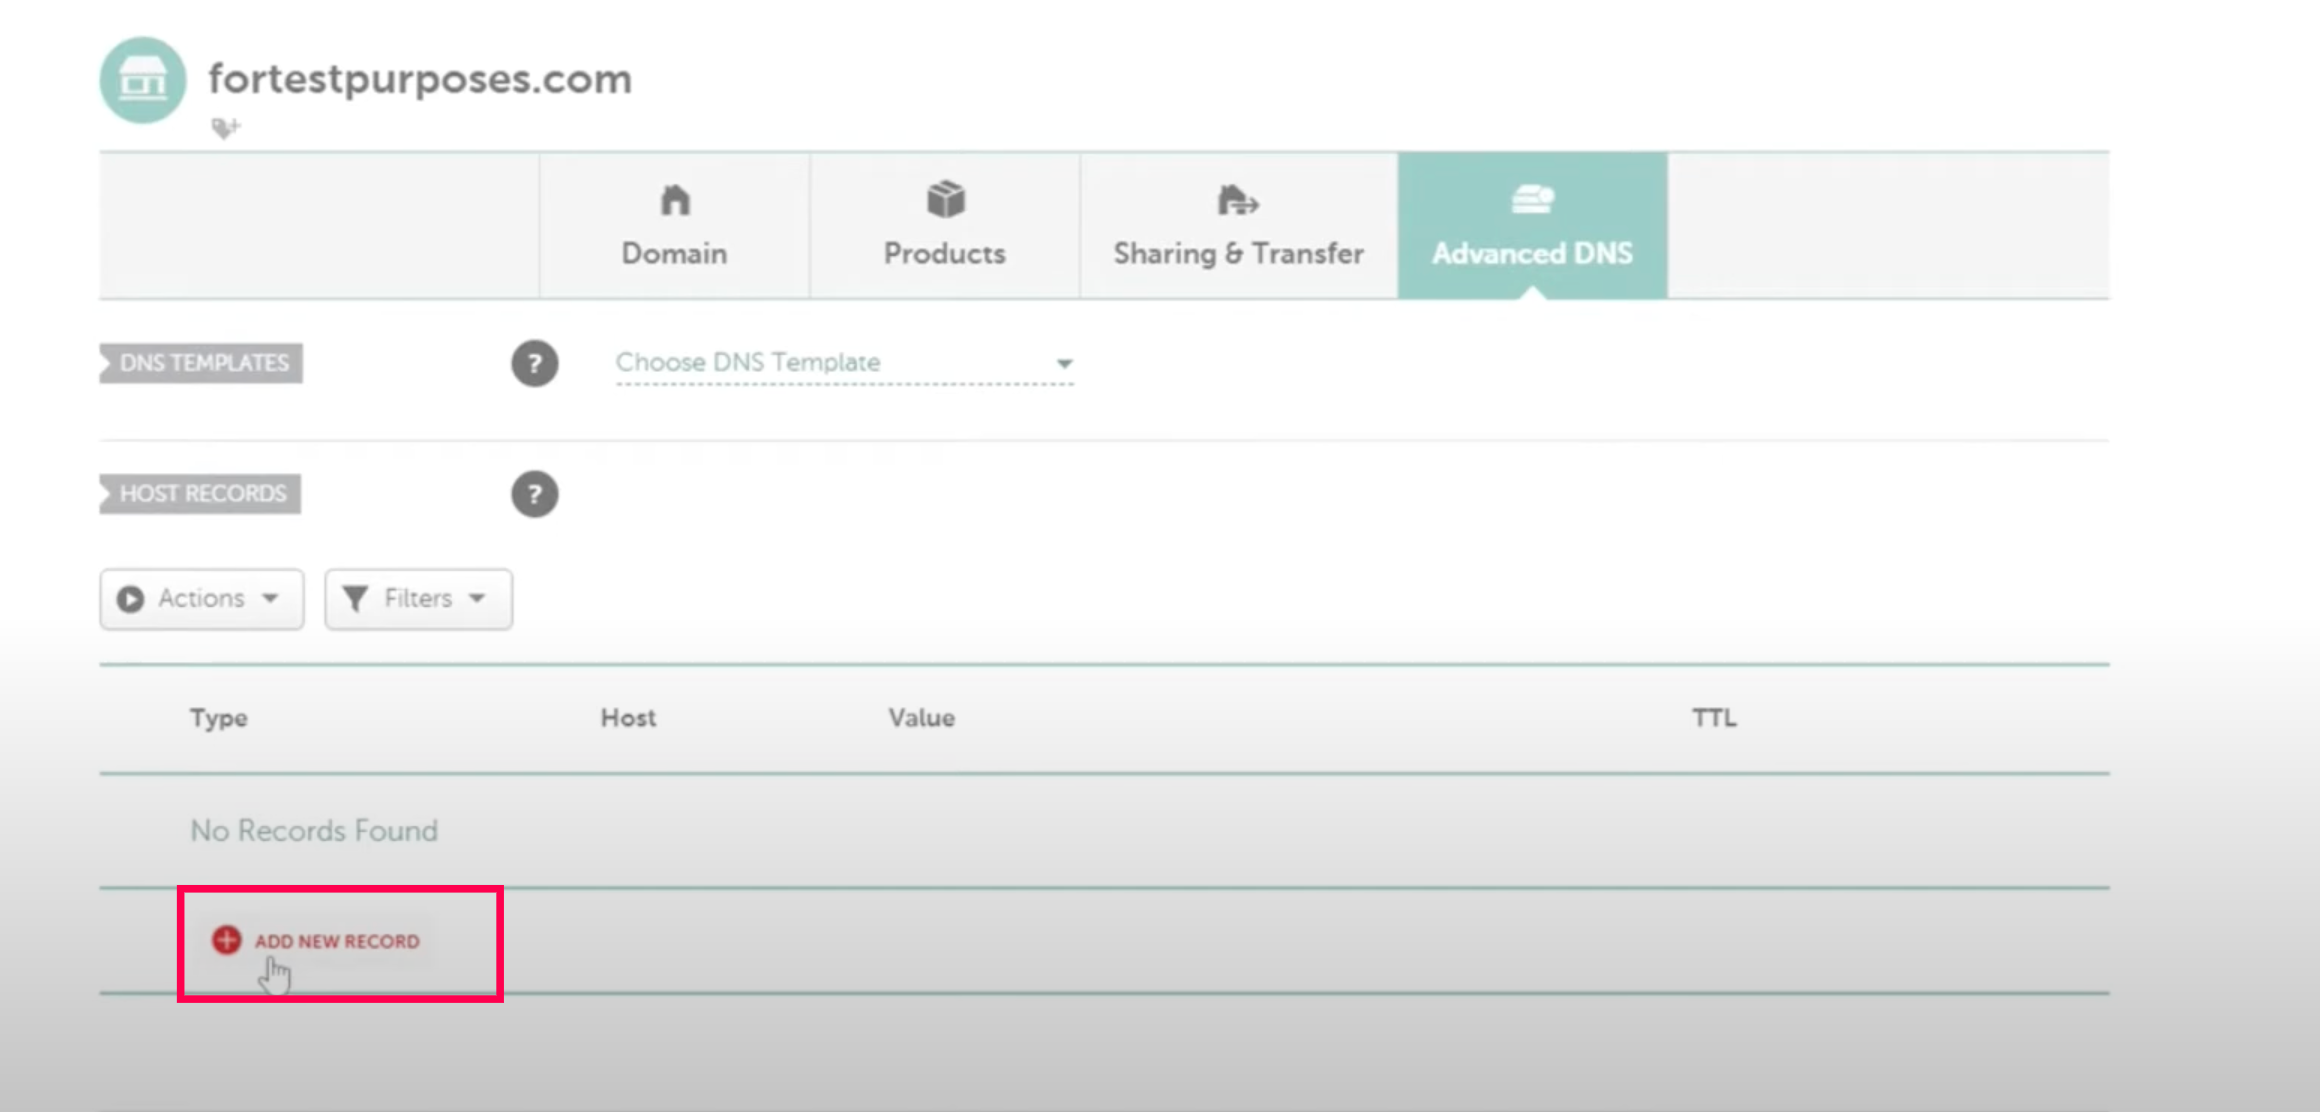
Step 5 - Click on the Add New Record tab

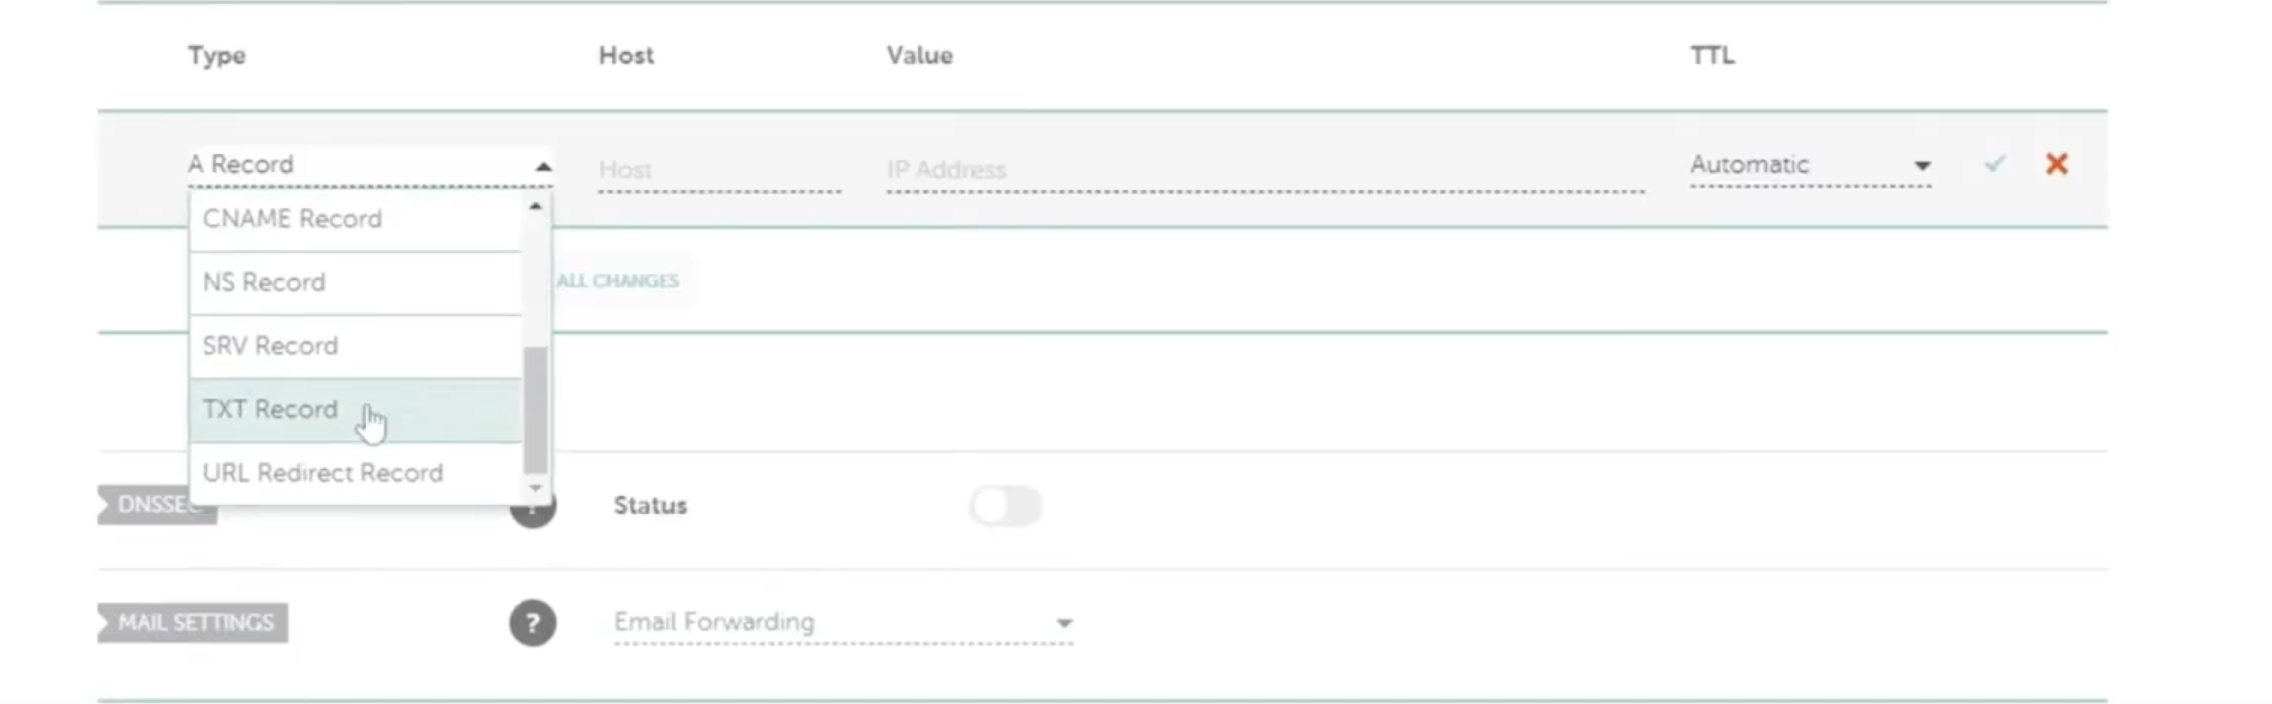
Step 6 - In Type: Select TXT record from dropdown.
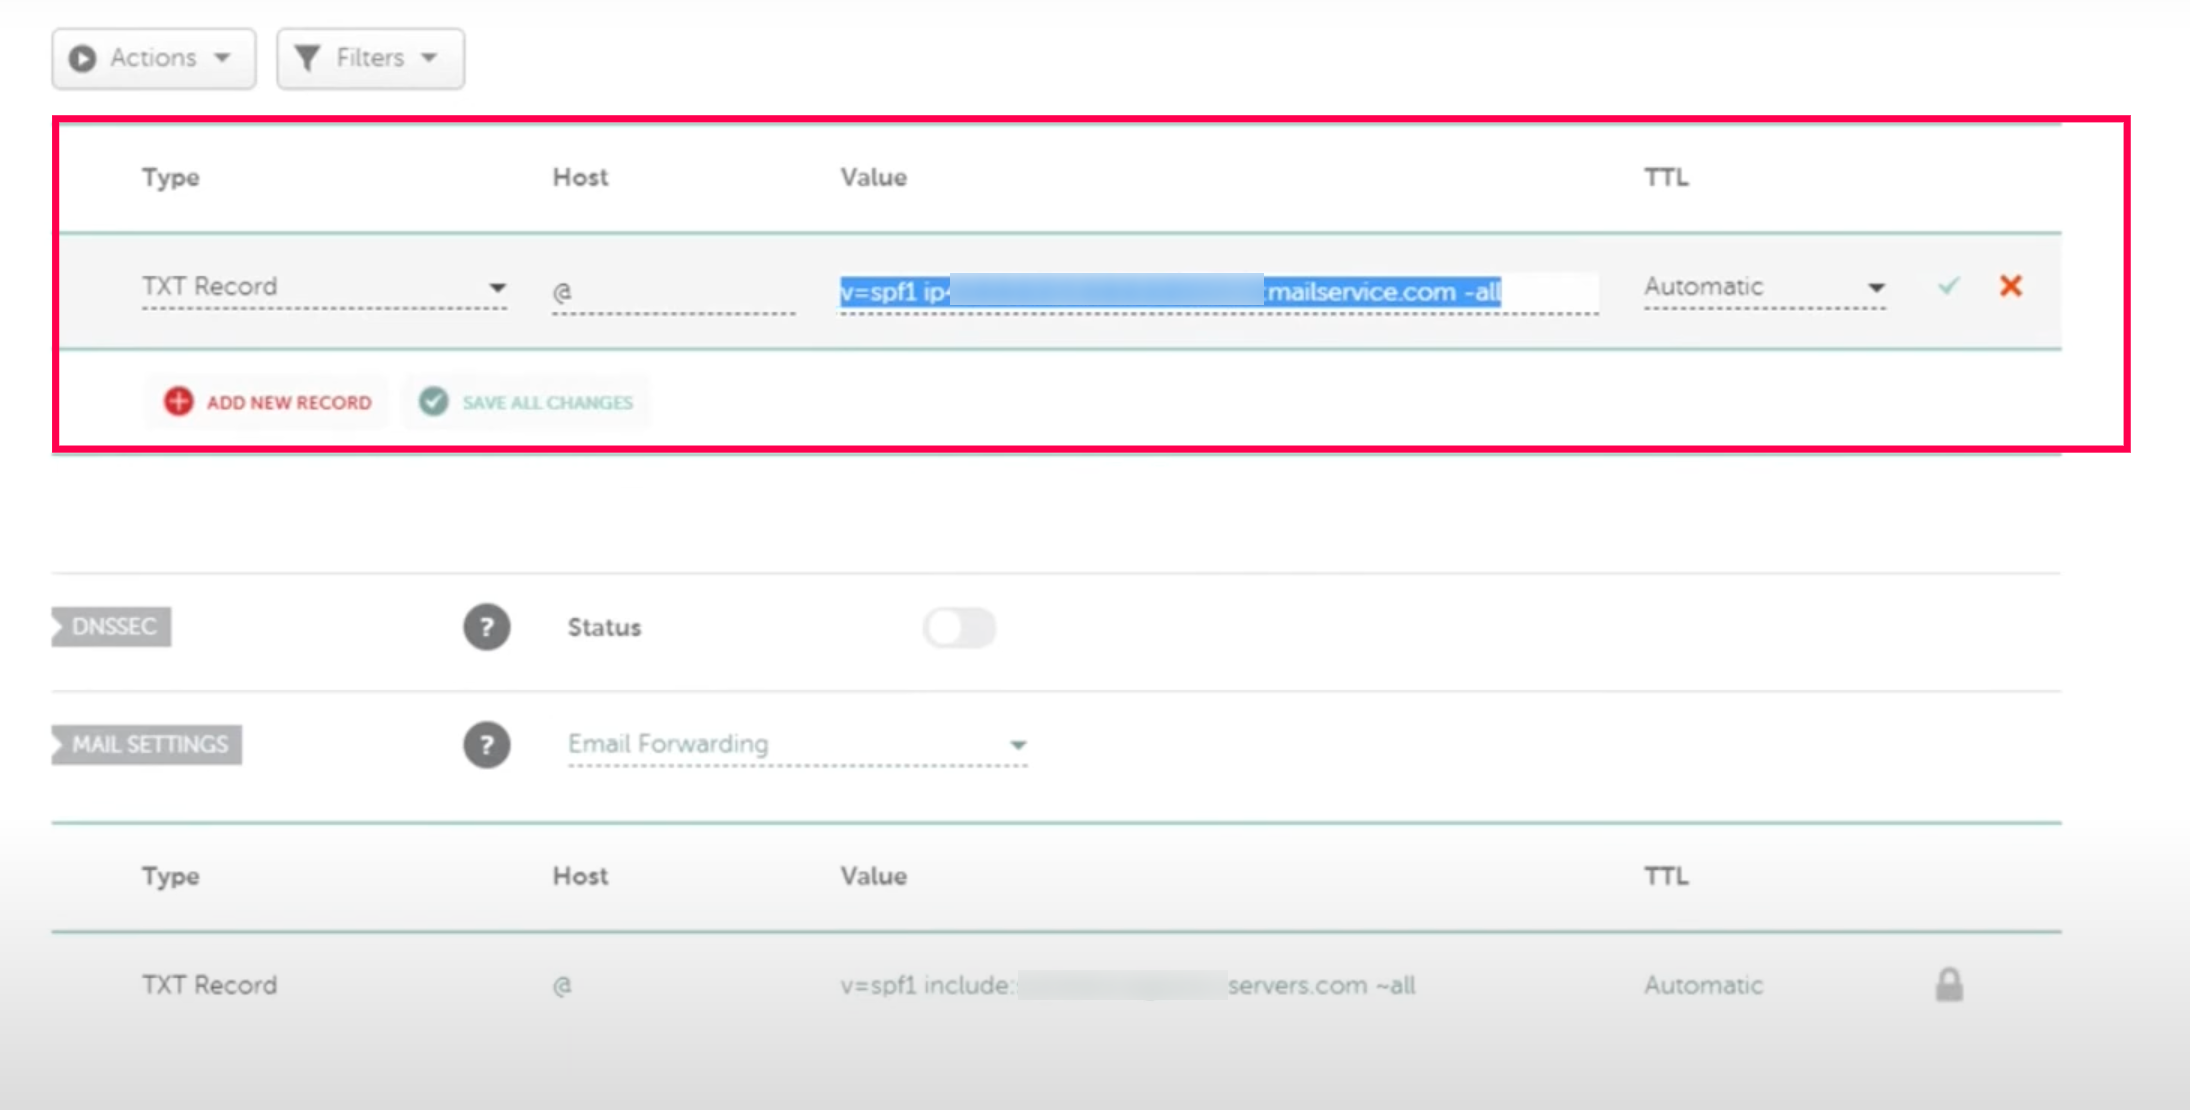
Step 7 - In Host : Add the @ sign or specify the sub domain.
Step 8 - In value: Put the value that you receive from the email service provider.
Step 9 - Click on save all changes tab
How to setup DKIM for you domain hosted on Namecheap
Step1- sign in to your Namecheap account.
Step 2- Navigate to the “domain list”
Step 3 - You will get directed to the new page Domain List. Click on the manage tab in front of your domain
Step 4 - Navigate to Advanced DNS tab from the top menu bar
Step 5 - Click on the Add New Record tab
Step 6 - In Type: Select TXT record from dropdown.
Step 7 - In Host : Add the selector1._domainkey
Step 8 - In value: Put the value that you receive from the email service provider.
Step 9 - Click on save all changes tab

How to setup DMARC for you domain hosted on Namecheap
Step1- sign in to your Namecheap account.
Step 2- Navigate to the “domain list”
Step 3 - You will get directed to the new page Domain List. Click on the manage tab in front of your domain
Step 4 - Navigate to Advanced DNS tab from the top menu bar
Step 5 - Click on the Add New Record tab
Step 6 - In Type: Select TXT record from dropdown.
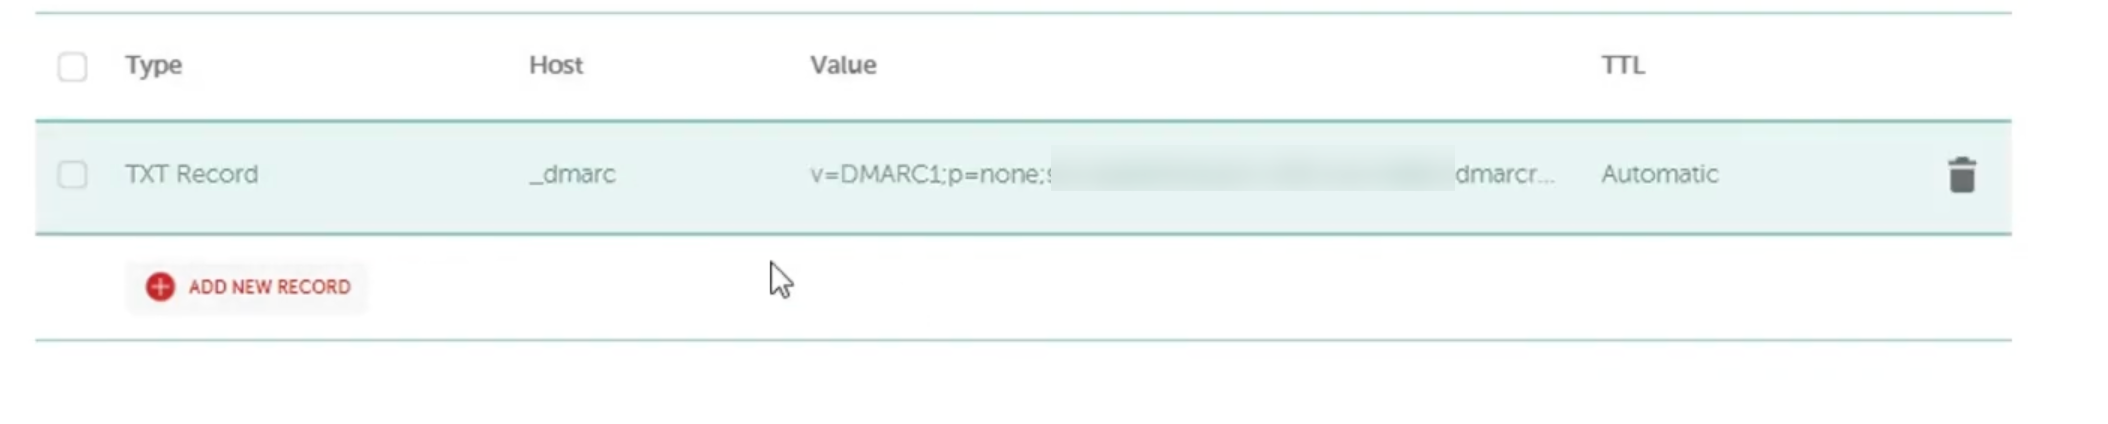
Step 7 - In Host : Add the _dmarc
Step 8 - In value: Put the value that you receive from the email service provider.
Step 9 - Click on save all changes tab
Updated 12 months ago