
Assign tags to prospects
Learn how to assign tags to prospects in SmartReach.io for better organization in your cold email and multichannel outreach campaigns. Step-by-step guide.
What are tags and how do they help?
Tags in SmartReach.io let you group prospects manually or automatically, making it easy to organize lists, highlight important prospects, or track email responses and activities. This streamlines your cold email and multichannel outreach efforts by keeping prospect data organized and accessible.
How to assign tags?
Manually assign tags to prospects
- Navigate to the Prospects page in SmartReach.io
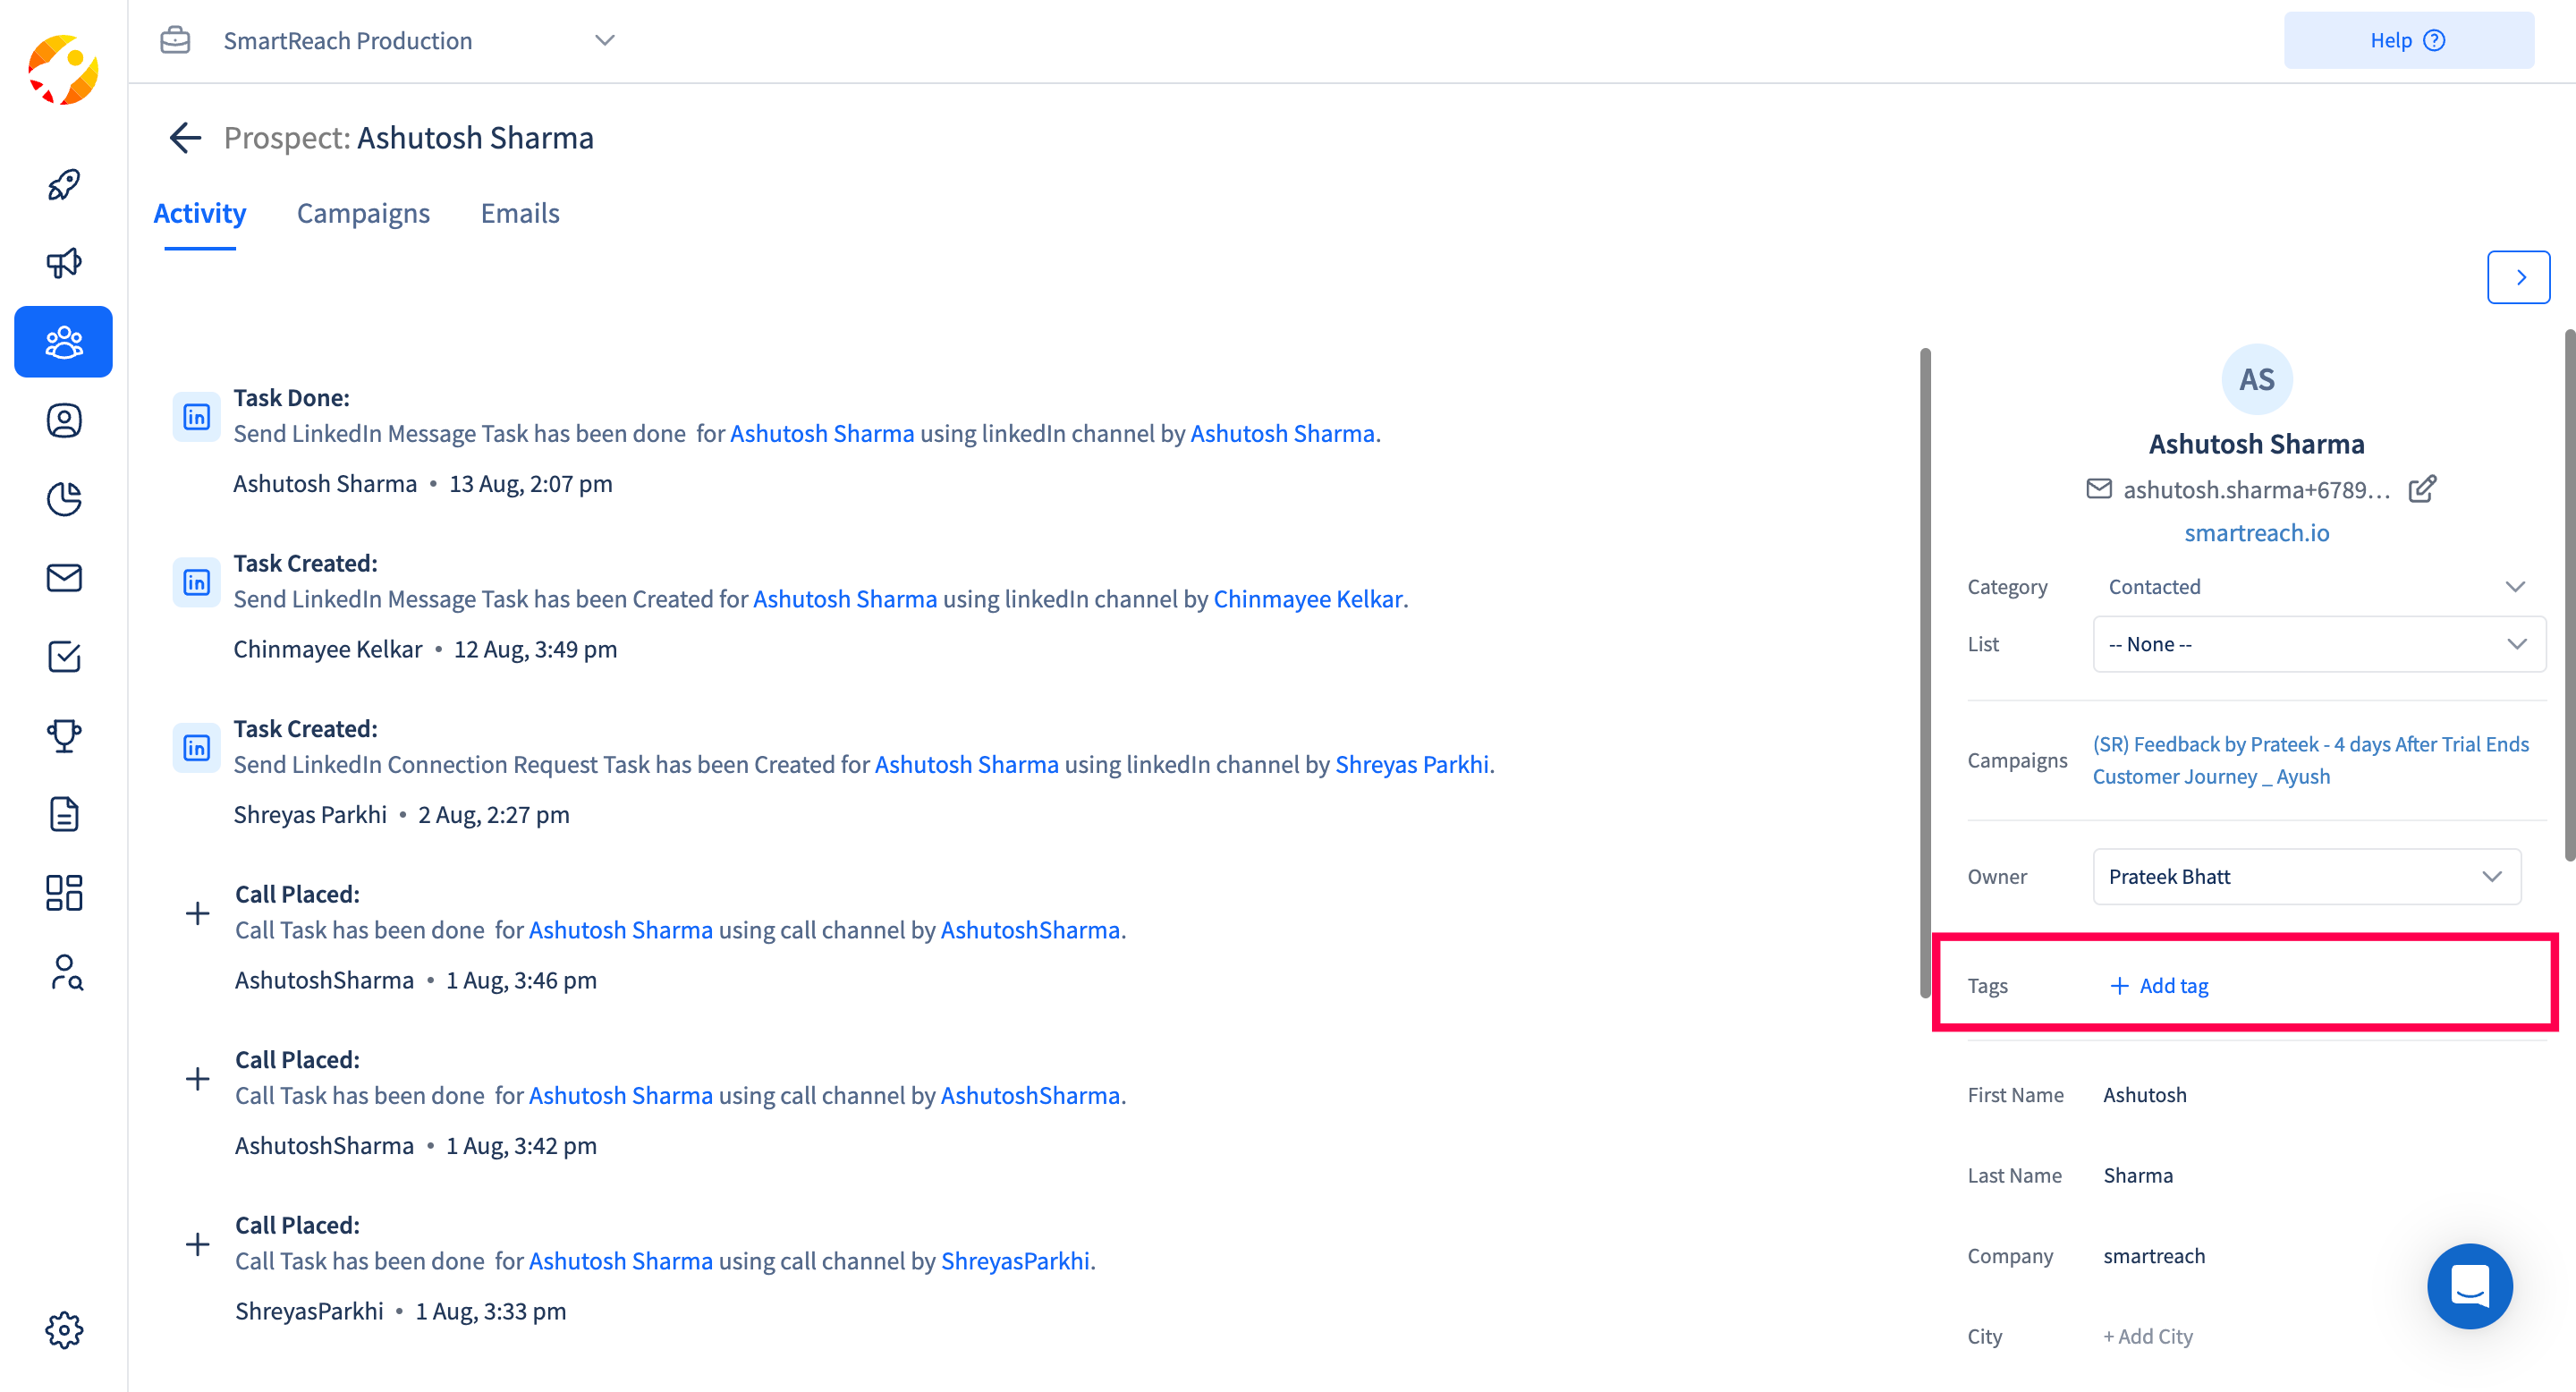
- Select a single prospect to assign a tag to an individual
- Click the Tags field, choose or create a tag, and click Update

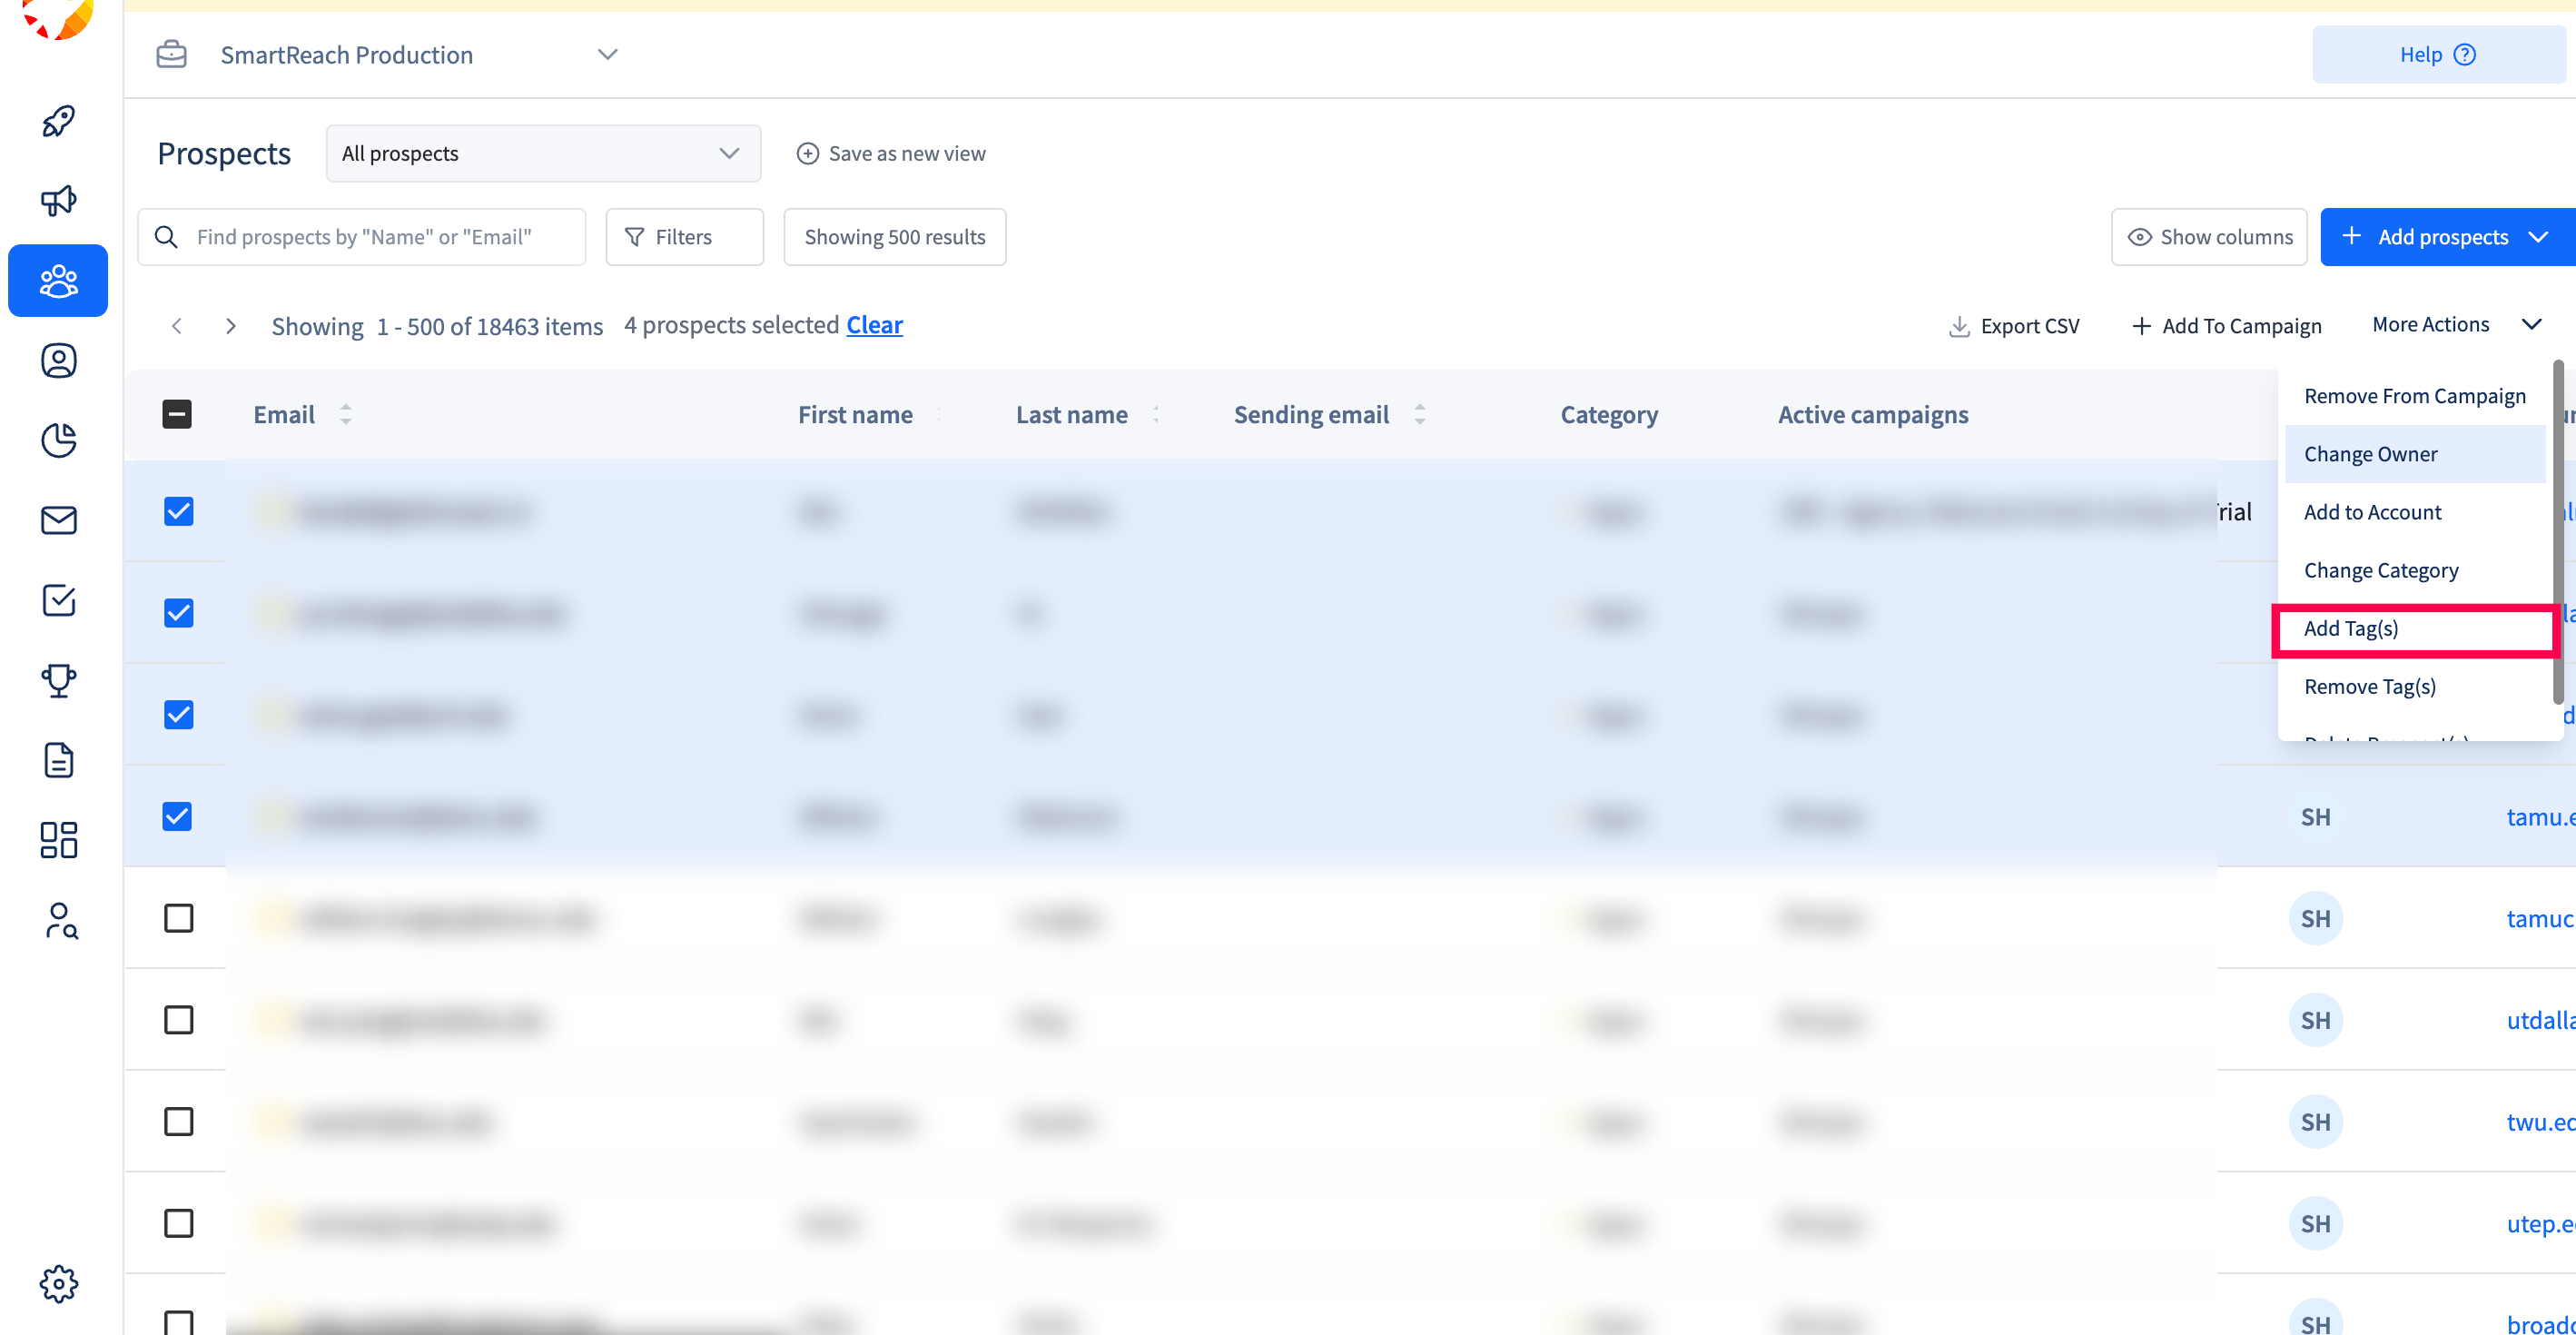
- To tag multiple prospects, select the desired prospects on the Prospects page
- Click the Tags option, choose or create tags, and click Update
Automatically assign tags based on criteria
- Navigate to Settings in the left-side column
- Select Team Settings, then Workflow Automation
- Create a new workflow to assign tags based on criteria like new replies, email opens, or link clicks
- Save the workflow to activate automatic tagging

Tag prospect replies
- Go to the Inbox in SmartReach.io
- Open an individual prospect’s response
- Click the Tags field, choose or create a tag, and save
Deactivate or remove tags
- To remove tags manually, navigate to the Prospects page
- Select the prospect or prospects with the tag
- Click the Tags field, remove the unwanted tag.
- To stop automatic tagging, go to Settings > Team Settings > Workflow Automation
- Edit or delete the workflow that assigns the tag
You can also add or remove tags by using Zapier integration
Updated 6 days ago